This tutorial will tell you how to create a RAID Group in Navisphere Manager Simulator & LUN assignation. You will have to follow below the below steps to setup your RAID group.
Steps to create RAID Group in Navisphere Manager Simulator
1. Log-in to your Navisphere Manager and you will see the default two servers (Local domain), just click Allocate on the left hand side as shown on below images.
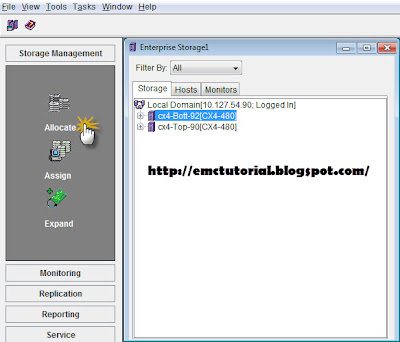
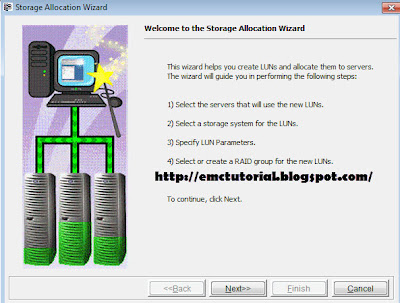
2.After clicking Allocate you will see Storage allocation wizard as below screen, just click on Next.
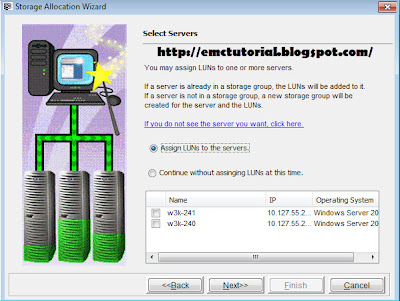
3. Now you will see a screen where you will have to select the server for which you have to assign LUNs. This is just a optional thing, you can define LUN or can leave without assigning and click Next.
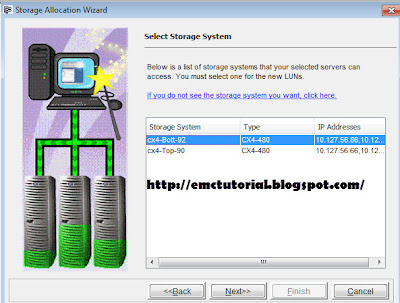
4.Now you will have to select the server for which you want to create a RAID Group and click next.
5. Now just click on New RAID Group which will show you the settings to create a RAID group, here you can select your RAID type like RAID 0, 1, 0+1, 5, 6 etc.
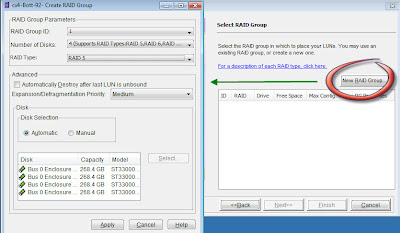
6. After all setting just click on Apply and you will get the confirmation screen to create new RAID group.
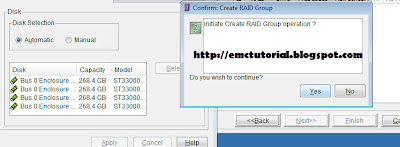
7. Now you will get a Success screen and after that just click on Cancel in Setup screen which will give you storage allocation screen, here just select the newly created RAID group and click Next.
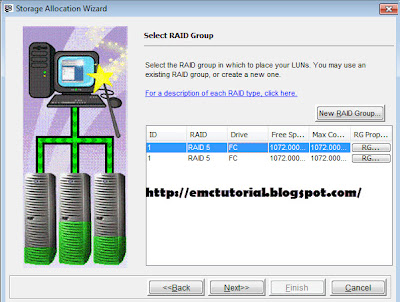
8. Now you will see LUN property box, just select your LUN number and click next.

9 Now you will see the summary screen, just click Finish, which will bring you Result screen.
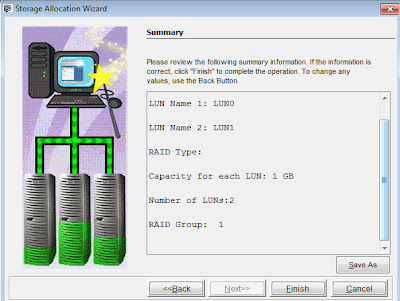
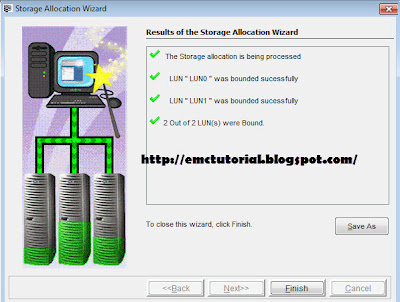
Now you can see your newly created group in your local domain under RAID group. RAID group will show you disk and private LUN. To delete any RAID group just right click and select Destroy. Subscribe to EMC Tutorial | Training by Email for more tutorials.


0 comments:
Post a Comment